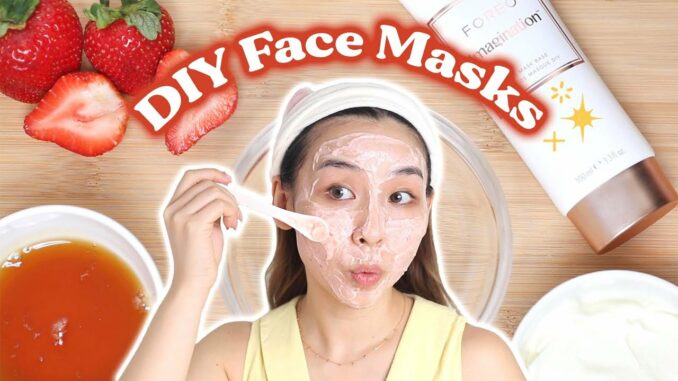
Introduction: Achieving glowing, radiant skin is a timeless desire shared by individuals worldwide. While there are countless skincare products available on the market promising luminous results, sometimes the most effective solutions can be found right in your kitchen pantry. Natural DIY face masks offer a holistic approach to skincare, harnessing the power of nutrient-rich ingredients to nourish, rejuvenate, and revitalize the skin. In this comprehensive guide, we explore the art of creating DIY face masks for glowing skin, providing step-by-step instructions, ingredient recommendations, and expert tips to help you unlock your skin’s natural radiance.
Understanding the Benefits of DIY Face Masks: Before delving into the specifics of crafting your own face masks, it’s essential to understand the benefits they offer for achieving glowing skin. Natural DIY face masks are formulated with fresh, whole ingredients that are free from synthetic chemicals and preservatives, making them gentle and suitable for all skin types. These masks deliver a potent dose of vitamins, minerals, antioxidants, and other beneficial compounds directly to the skin, promoting hydration, nourishment, and cellular renewal. Additionally, DIY face masks can be customized to address specific skincare concerns, whether it be acne, dryness, dullness, or signs of aging, providing tailored solutions for individual needs.
Key Ingredients for Glowing Skin: When it comes to creating DIY face masks for glowing skin, the key lies in selecting the right ingredients. Certain natural ingredients are renowned for their ability to promote radiance, clarity, and vitality, making them ideal choices for homemade skincare formulations. Some key ingredients to consider include:
- Honey: A natural humectant that attracts moisture to the skin, honey is prized for its hydrating, antibacterial, and antioxidant properties.
- Yogurt: Rich in lactic acid, probiotics, and enzymes, yogurt helps exfoliate dead skin cells, brighten the complexion, and improve skin texture.
- Avocado: Packed with vitamins, minerals, and healthy fats, avocado nourishes and moisturizes the skin, leaving it soft, supple, and radiant.
- Turmeric: Known for its anti-inflammatory and antioxidant properties, turmeric helps reduce redness, inflammation, and hyperpigmentation, promoting a more even skin tone.
- Oats: Gentle and soothing, oats help calm irritated skin, reduce redness, and provide relief from dryness and sensitivity.
Step-by-Step Guide to Creating DIY Face Masks: Now that you’re familiar with some of the key ingredients for glowing skin, let’s explore the step-by-step process of creating your own natural DIY face mask:
Step 1: Choose Your Base Ingredient: Start by selecting a base ingredient that will serve as the foundation of your face mask. Common base ingredients include yogurt, honey, avocado, banana, and aloe vera gel. Choose a base ingredient that aligns with your skincare goals and preferences.
Step 2: Add Additional Ingredients: Once you’ve chosen your base ingredient, it’s time to enhance your face mask with additional ingredients that target specific skincare concerns. For example, if you’re looking to brighten dull skin, you might add a teaspoon of turmeric powder to your yogurt base. If you’re seeking hydration and nourishment, consider incorporating mashed avocado or a drizzle of honey.
Step 3: Mix and Customize: Combine your chosen ingredients in a small bowl and mix thoroughly until you achieve a smooth, uniform consistency. Feel free to customize the texture and thickness of your mask by adjusting the proportions of the ingredients. Add a few drops of your favorite essential oils for added aroma and skincare benefits.
Step 4: Apply to Clean Skin: Before applying your DIY face mask, ensure that your skin is clean and free of makeup, dirt, and impurities. Gently cleanse your face with a mild cleanser and pat dry with a clean towel. Using clean fingers or a soft brush, apply the mask evenly to your face, avoiding the delicate eye area.
Step 5: Relax and Rejuvenate: Once your mask is applied, take some time to relax and allow the nourishing ingredients to work their magic.