Introduction: In today’s fast-paced world, taking time for self-care is essential for maintaining mental, emotional, and physical well-being. A DIY facial offers a luxurious and rejuvenating experience that nurtures your skin and nourishes your soul, all from the comfort of your home. This comprehensive guide will walk you through the steps of creating a spa-like facial experience using simple, natural ingredients that pamper and revitalize your skin.
Step 1: Set the Mood Before diving into your DIY facial, create a serene and relaxing environment to enhance the experience. Dim the lights, play soft music, and light a scented candle or use essential oils to infuse the air with calming aromas. Consider incorporating meditation or deep breathing exercises to help you unwind and center yourself before beginning your facial.
Step 2: Cleanse Start your DIY facial by cleansing your skin to remove dirt, oil, and impurities accumulated throughout the day. Choose a gentle cleanser suited to your skin type, whether it’s a creamy cleanser for dry skin or a foaming cleanser for oily skin. Massage the cleanser onto damp skin using gentle circular motions, then rinse thoroughly with lukewarm water and pat your skin dry with a soft towel.
Step 3: Exfoliate Exfoliation is key to removing dead skin cells and revealing a fresh, radiant complexion. Create a homemade exfoliating scrub using ingredients like sugar, oatmeal, or coffee grounds, which gently buff away dullness without causing irritation. Apply the scrub to damp skin, massaging it in gentle circular motions for 1-2 minutes, then rinse thoroughly with warm water.
Step 4: Steam Steaming opens up your pores, allowing impurities to be easily removed and skincare products to penetrate more effectively. Boil a pot of water and pour it into a heat-safe bowl, then lean over the bowl and drape a towel over your head to trap the steam. Allow the steam to envelop your face for 5-10 minutes, taking slow, deep breaths to relax and rejuvenate your skin.
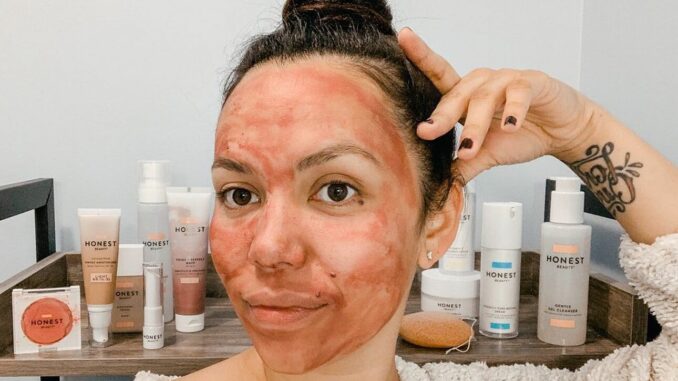
Step 5: Mask Applying a facial mask is a luxurious way to nourish and pamper your skin, targeting specific concerns such as hydration, brightening, or detoxification. Choose a DIY mask recipe suited to your skin’s needs, whether it’s a hydrating mask made from avocado and honey, a brightening mask with yogurt and turmeric, or a detoxifying mask with activated charcoal and clay. Apply the mask evenly to your face, avoiding the delicate eye area, and leave it on for 10-15 minutes before rinsing off with warm water.
Step 6: Tone After removing the mask, tone your skin to rebalance its pH levels and prepare it to receive the benefits of your skincare products. Use a natural toner like rose water, witch hazel, or green tea, which soothes, hydrates, and tones the skin while minimizing the appearance of pores. Apply the toner to a cotton pad and gently swipe it across your face, neck, and décolletage.
Step 7: Moisturize Finish your DIY facial by moisturizing your skin to lock in hydration and restore its natural barrier function. Choose a nourishing moisturizer suited to your skin type, whether it’s a lightweight lotion for oily skin or a rich cream for dry skin. Massage the moisturizer onto your face and neck using upward, circular motions, taking care to avoid the eye area.
Step 8: Eye Care Don’t forget to show some love to your delicate eye area by applying a hydrating eye cream or serum. Gently pat the product around your eyes using your ring finger, starting from the inner corner and working outward. Be careful not to tug or pull on the delicate skin, as this can cause wrinkles and sagging over time.
Step 9: Relax and Rejuvenate Take a few moments to bask in the glow of your DIY facial, reveling in the sensation of soft, supple skin and a refreshed complexion. Use this time to practice gratitude, mindfulness, or simply enjoy the feeling of self-care and self-love. Treat yourself to a cup of herbal tea, a nourishing snack, or a few moments of quiet reflection before returning to your day feeling rejuvenated and restored.
Conclusion: A DIY facial is more than just a skincare routine; it’s a ritual of self-care and self-love that nourishes your skin, uplifts your spirit, and enhances your overall well-being. By following the steps outlined in this comprehensive guide and using simple, natural ingredients, you can create a spa-like experience at home that leaves your skin glowing and your soul rejuvenated. So take some time for yourself, indulge in a little pampering, and embrace the transformative power of self-care with a DIY facial. Your skin and your soul will thank you for it.